Wowza Remote
Written By Robert Thomas
Last updated 8 months ago
Follow the instructions in this topic only if you installed Wowza Media server on a machine other than the one that runs the MEDIAL software as part of an advanced deployment. If you are implementing a basic installation with Wowza Media Server on the same machine as MEDIAL, proceed to the topic Wowza Configuration.
Create a Service Account
To allow MEDIAL to communicate with Wowza on a different server, you need to create a common service account used by the MEDIAL content share. This can be either a directory services account or a local account.
TIP: If the account is local, it must be identical on both servers, with the same username and password.
Set Permissions
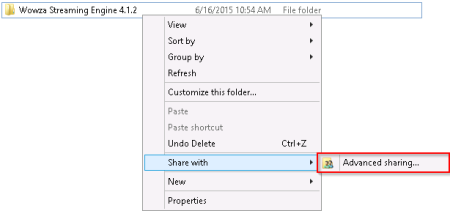
On the Wowza Media Server locate the Wowza installion directory in Program files. In the main folder, right-click the Streaming Engine folder and choose Share with > Advanced sharing.
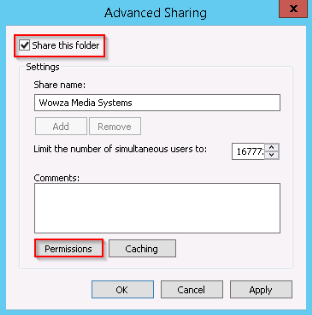
Check the box to share the folder and click Permissions.
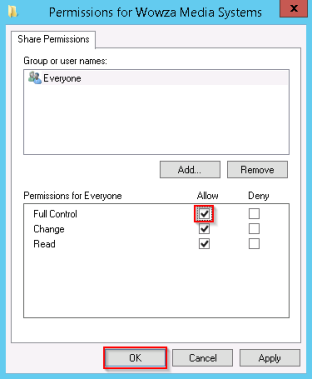
Check the Full Control box for the Everyone user and click OK.
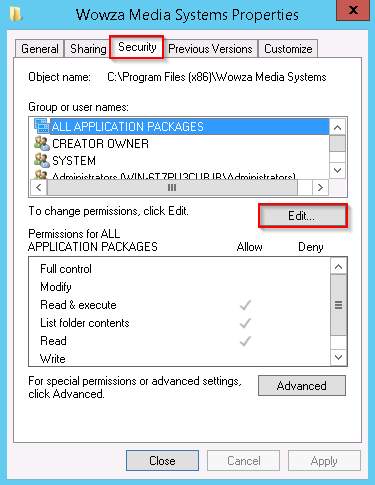
Navigate to the Security tab and click Edit.
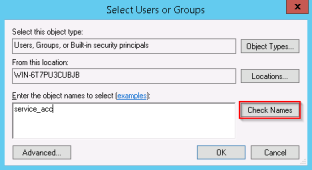
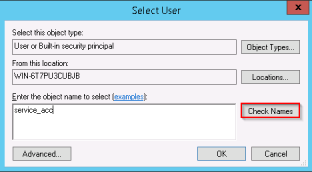
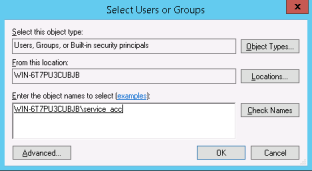
Enter the name of the service account previously created. Click Check Names. When the account is found, click OK.
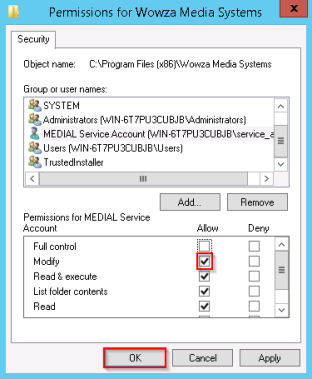
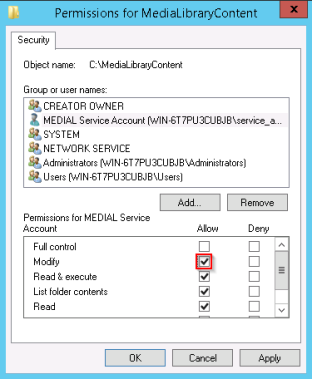
Click on the account you added and check the Modify box in the Allow column. Click OK.
Configure Services
Once you have set up the service account, configure the Wowza Media Server and MEDIAL to run under this account so that the media server can access the MEDIAL content.
Click Start > Run and enter services.msc in the dialog, or find services under Administrative Tools.
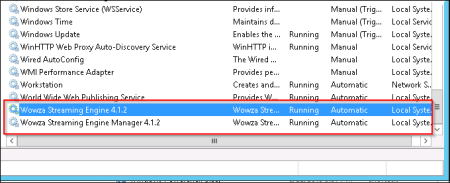
Locate the Wowza services called Wowza Streaming Engine and Wowza Streaming Engine Manager.
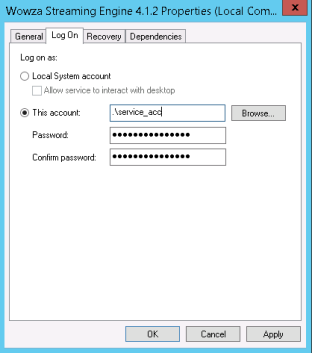
Double-click the first service and navigate to the Log On tab. Click Browse to locate the service account.
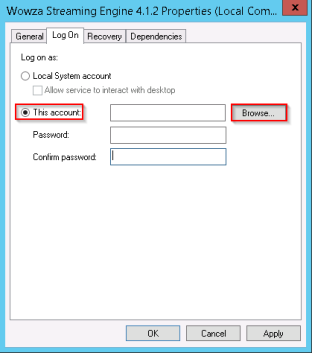
Enter the name of the account and click Check Names to find it. Click OK when the account has been selected.
Enter and confirm the password for the account and click OK.
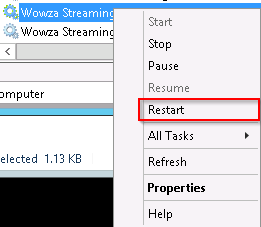
If a message appears to say that the service needs to be restarted before the change takes effect, restart the service by right-clicking it and choosing Restart.
Repeat this process for the other Wowza services.
Perform this procedure on the MEDIAL server so that the service named HMLService runs under the authority of the same service account.
Share the Content Directory
The MEDIAL Content directory needs to be shared so that the Wowza Server can see it.
NOTE: Optionally, you can move the content directory to a network shared location. In this case, follow the instructions in the topic Network Content before you perform this step.
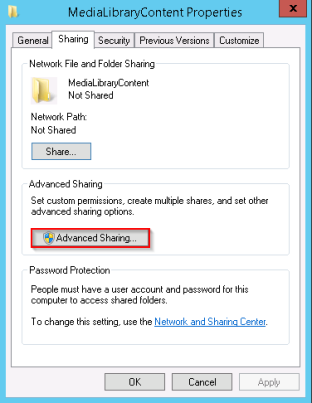
Navigate to the content directory (for example, D:\HelixMediaLibraryContent) and right-click the directory folder. Choose Properties.

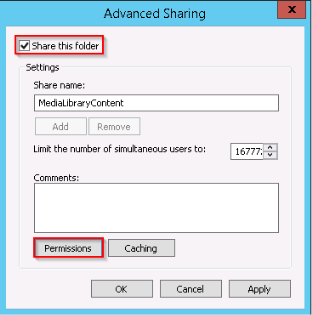
Open the Sharing tab and click Advanced Sharing.
Check the box for Share this folder and click Permissions.
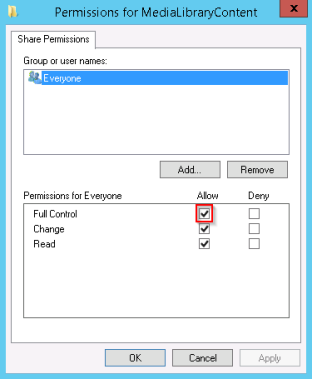
Click on Everyone for the user name and check the Full Control box in the Allow column. Click OK twice.
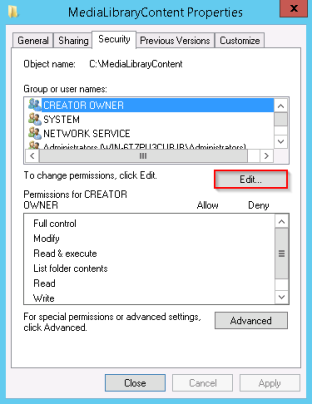
On the Security tab, click Edit.
Click Add.
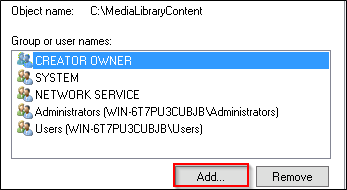
Enter the name of the service account and click Check Names. When the account is found, click OK.
With the service account selected, check the Modify box in the Allow column. Click OK.
Click OK to close the dialog.
Repeat this procedure for the MEDIAL installation directory, which has this default location:
C:\HelixMediaLiibrary
Note the following two exceptions when you modify the installation directory privileges: